Diagnosing and Repairing Tap and Trap Leaks Step by Step
A dripping tap is not one fault but several distinct ones producing similar-looking symptoms. A technician who starts dismantling before establishing exactly where the water appears wastes half their callouts replacing a sound part and leaving the failed one in place. Correct diagnosis starts with looking, not with a wrench.
Where exactly does the leak start
Dry the tap completely, shut the supply, then open and close it and watch carefully for the first drop. Where the water appears is the single most valuable diagnostic clue you have.
| Leak location | Likely cause | Part involved |
|---|---|---|
| Drip from spout with tap closed | Internal shut-off seal failed | Washer, cartridge or ceramic discs |
| Water around the handle when running | Rotational seal failed | O-rings on the cartridge body or gland nut |
| Water at the base of a swivel spout | Worn spout seals | Spout O-rings |
| Water under the basin, tap base wet | Base gasket or loose fixing nut | Base gasket / base seal |
| Water only on the flexible supply tail | Undertightened, failed washer, or a nut cracked by overtightening | Supply connector and its washer |
| Dampness only at full flow | Pressure-dependent leak | Supply connection or a body crack |
The key distinction: a drip from the spout with the tap closed means the seal that stops water passing has failed. Water around the handle or base means the seal that keeps water inside the body has failed. Two different faults, two different parts; fixing one does not address the other.
Tap types and what fails in each
Washer (compression) taps. The traditional two-handle type. Turning raises or lowers a spindle with a rubber washer that presses onto a brass seat. The usual failure is the washer itself — but if the seat is also pitted, a new washer will drip again within weeks because it is sitting on a rough surface. The seat must then be reground or replaced if removable.
Cartridge taps. A sealed unit containing the whole mechanism, usually with one lever controlling mix and flow. Cartridges are replaced, not repaired. Symptoms: a drip no amount of handle pressure stops, stiff operation, incorrect mixing, or crossflow making the cold water warm. Cartridges are not interchangeable between makers, so take the old one with you.
Ceramic disc taps. Two precision-lapped ceramic discs slide over each other and seal on flatness. These last longest, so failure is usually not wear but grit or scale that got between the discs and scored them. Telltale sign: a drip that began after work on the mains, or after supply was restored and surged through carrying debris. Careful cleaning sometimes helps; a scored disc means replacing the unit.
Ball taps. A ported ball rotates against spring-loaded rubber seats. Failure is usually in the seats and springs rather than the ball, and full repair kits are available.
Replacing a washer or O-ring
- Shut the isolating valve under the basin and open the tap to confirm flow stopped and release residual pressure.
- Plug the waste outlet with a cloth. Small screws and rings fall in with surprising regularity.
- Remove the handle cap (the hot/cold indicator disc), undo the handle screw beneath it, and lift off the handle.
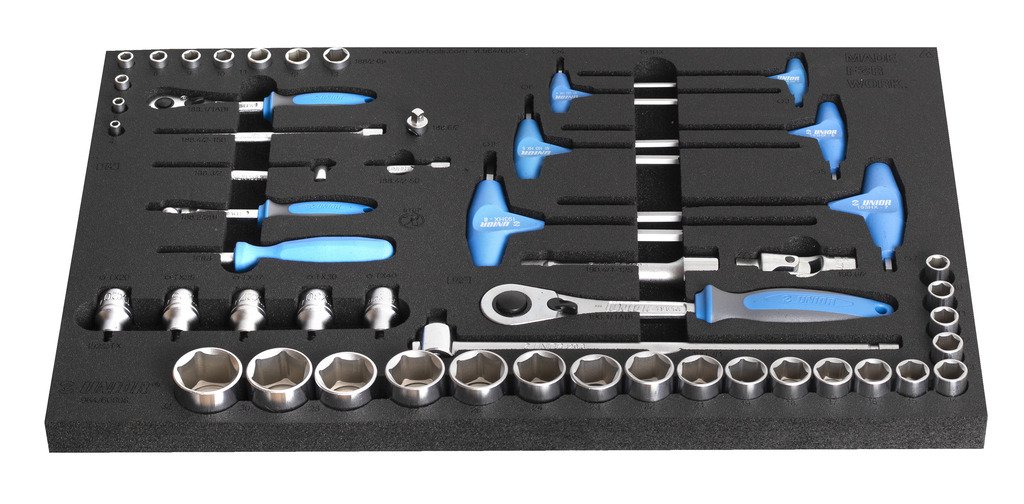
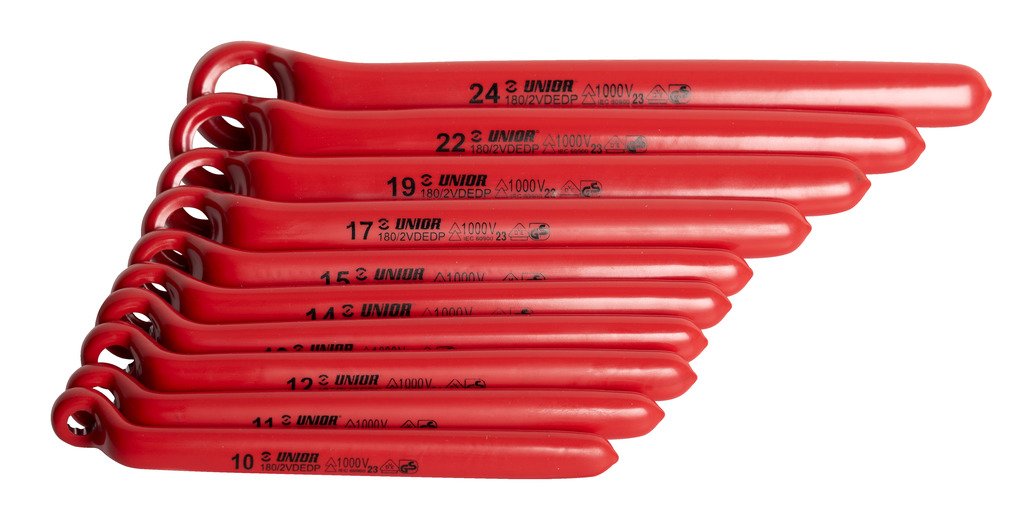
- Undo the gland nut with a correctly sized spanner and keep the parts in order as they come out. Photograph them first if this is unfamiliar.
- Withdraw the spindle or cartridge and inspect the end washer and the body O-rings. A failed washer is flattened, split, hardened or has lost its edge.
- Feel the seat inside the body with a fingertip. Roughness or pitting means a new washer alone will not fix it.
- Fit an exact-size replacement. Slightly oversized will not seat properly; undersized will leak.
- Grease O-rings with a tap grease rated for potable water, never ordinary oil or grease, which attacks rubber.
- Reassemble with moderate torque, turn the water on slowly, and watch for a full minute.
On seized parts: in hard-water areas nuts scale up and lock. Do not apply sudden excess torque — you will twist the body or shear the fixing studs under the basin. Use a scale-dissolving fluid, give it time, and apply steady progressive torque. Be prepared for the tap needing full replacement if the body is affected.
Trap leaks and waste faults
A basin trap operates with no pressure at all, only gravity flow, so most of its leaks have simple causes fixable with hand tools.
- Loose slip nut: the most common cause. Vibration and thermal cycling back it off. Hand-tighten first, gently with a wrench only if needed.
- Failed slip washer: plastic and rubber washers harden and lose elasticity. Replace, checking orientation — a tapered washer has a face that must point toward the joint.
- Cracked trap: common at the bend or at a threaded collar, from excess torque, an impact, or heavy items stored in the cupboard resting on it. A cracked trap is replaced, not patched.
- Blockage causing overflow: a blocked trap fills until it escapes at the weakest joint. Here the leak is a symptom; clean the trap. Undo the cup or lower joint with a container underneath and remove the build-up.
- Wrong waste pipe fall: dead level or reverse-graded pipe holds water, causing repeat joint leaks and periodic blockages.
The dry trap smell problem
The trap's second job is holding a permanent water seal separating drain air from room air. If that water evaporates, the path opens and a strong smell appears that people often mistake for a drain leak. Usual causes: a basin or floor gully unused for a long period, hot dry conditions accelerating evaporation, or siphonage of the seal because of inadequate venting when a large discharge occurs elsewhere.
Treat per cause: pour water into unused gullies periodically, and a little vegetable oil on top noticeably slows evaporation. But if the smell comes with a sucking or gurgling noise during discharge, the problem is venting, not evaporation, and needs attention in the system design rather than at the gully.
When to replace rather than repair
- The tap body is cracked or corroded through — no internal seal fixes a compromised body.
- The seat is deeply eroded on a tap with no replaceable seat.
- Internal parts are unavailable for an old or unidentified model.
- The same fault has been repaired repeatedly in a short period, meaning the problem is the body or geometry, not the washer.
- Fixing studs under the basin are too corroded to tighten.
Summary
Good hand diagnosis means locating where the water appears first, then identifying the tap type, then targeting the specific responsible part. A spout drip points to the internal seal; dampness at handle or base points to an external seal; dampness only under the basin points to the trap or supply connection. On traps, start with the slip nut and washer before assuming the worst, and remember the leak may be a symptom of a blockage or bad fall rather than a failed component.